Prerequisites
Before starting, ensure you have:- Claude Desktop installed - Download Claude Desktop if not already installed
- Node.js v24.1.0 and NPM 11.3.0 installed - Download Node.js
- Jedify account access - Confirm you can access your organization’s Jedify platform
Step 1: Locate Configuration File
You need to edit the Claude Desktop configuration file:Through Claude Desktop
Go to settings > Developer > click Edit Config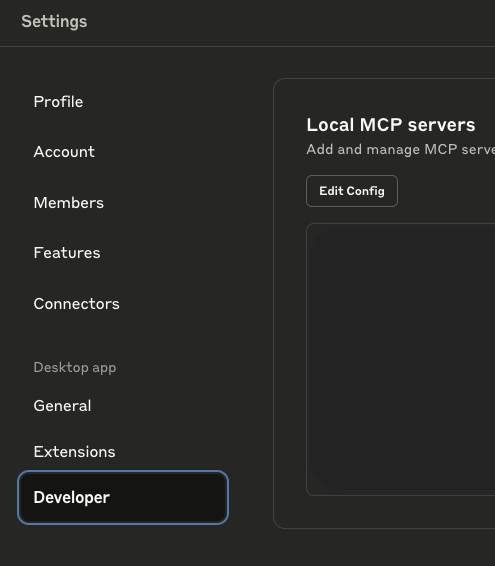
Manually
macOS{}
Step 2: Add Jedify Configuration
Add the following configuration to yourclaude_desktop_config.json file:
Choosing a Mode
Jedify MCP supports two modes:- Asker (default) — Natural language data analysis. Ask questions, get answers and charts. Best for analysts and business users.
- Builder — Programmatic access to semantic functions and the TypeScript SDK. Best for building dashboards and apps in Cursor. See the Cursor Setup guide.
--builder to args:
Step 3: Restart Claude Desktop
After saving the configuration file:- Close Claude Desktop completely
- Restart Claude Desktop
- Wait for Claude Desktop to load completely
Step 4: First Authentication
When you first interact with Jedify tools in Claude Desktop:Initial Connection
Start a new conversation in Claude Desktop and try:Authentication Flow
The system will automatically:- Detect that authentication is required
- Open your browser to your organization’s login page
- Complete secure authentication
- Store authentication tokens
- Return to Claude Desktop ready to use
Browser Authentication Steps
- Browser Opens: Your default browser will open to your organization’s login page
- Login: Use your organization credentials to log in
- Success: You’ll see a “Success! You can close this tab” message
- Return to Claude: Switch back to Claude Desktop to continue
Alternative: API Key Authentication
If you prefer not to use the browser-based login — for example on a headless machine, a shared environment, or an automated/CI setup — you can authenticate with a Jedify API key instead. Set theJEDIFY_API_KEY environment variable in your configuration. When present, the proxy skips the browser login entirely and authenticates every request with the key:
The API key must be bound to a user (the key identifies who is acting, so no email or extra login is needed). Ask your Jedify administrator to issue a user-bound API key. If
JEDIFY_API_KEY is not set, the proxy falls back to the standard browser login described above.@jedify/mcp-auth v1.1.0 or later.
Verification
To verify your setup is working correctly:Test Connection
Ask Claude: “What data entities are available in our Jedify platform?”Expected Response
Claude should respond with information about your organization’s data entities and semantic layer, confirming successful authentication and connection.Security
- Encrypted Communication: All communications use secure HTTPS
- User Permissions: Access limited to your organization’s data and your user permissions
- Automatic Token Management: Tokens refresh automatically and expire for security
Troubleshooting
Configuration file not found
Create the file manually at the correct location and ensure proper JSON formatting.Authentication fails
- Check with your Jedify administrator about account access
- Try clearing browser cookies for the authentication domain
Connection issues
- Verify your internet connection
- Ensure Claude Desktop is fully restarted after configuration changes
Next Steps
Once you have successfully configured and authenticated:- Explore Available Tools → - Learn about all available analysis capabilities
- See Common Use Cases → - Discover practical analysis workflows
- Get Help → - Common issues and solutions