> ## Documentation Index
> Fetch the complete documentation index at: https://docs.jedify.com/llms.txt
> Use this file to discover all available pages before exploring further.
# Installation
# Prerequisites
Admin permission required — Only Looker Admins can install extensions and configure user attributes.
* A Looker instance with the **Extension Framework** enabled
* A Jedify account with an **API key** (generated from Jedify Settings > API Keys)
# Step 1: Create the User Attribute
The extension reads your Jedify API key from a Looker user attribute. This allows admins to configure it once for all users.
1. Go to **Admin > Users > User Attributes**
2. Click **Create User Attribute**
3. Fill in:
| Field | Value |
| -------------------- | --------------------------------------------- |
| **Name** | `jedify_extension_jedify_chat_jedify_api_key` |
| **Type** | String |
| **User Access** | None |
| **Hide Values** | Yes |
| **Domain Allowlist** | be.jedify.com/\* |
| **Default Value** | Your Jedify API key |
4. Click **Save**
 # Step 2: Create the LookML Project
1. Go to **Develop > Projects**
2. Click **New Model**
3. Choose a connection (doesn't matter which one) > **Create a new LookML Project with this exact name `jedify_extension`**
4. Select at least a single **Schema** (we don't really need. It's just mandatory when creating a new project)
5. Click **Next** until requested to enter model name and enter `jedify_extension`> **Complete and view model**
6. In the project file browser click the **+** > **Create project manifest**
#### `manifest.lkml`
```lkml theme={null}
project_name: "jedify_extension"
application: jedify_chat {
label: "Jedify Chat"
url: "https://jedify-looker-extension.s3.us-east-1.amazonaws.com/bundle.js"
mount_points: {
dashboard_tile: yes
standalone: yes
}
entitlements: {
core_api_methods: ["dashboard", "query","run_query", "me"]
local_storage: yes
new_window: yes
use_embeds: yes
external_api_urls: [
"https://be.jedify.com"
]
new_window_external_urls: [
"https://app.jedify.com/*"
]
}
```
8. Click **Save Changes**, then **Validate LookML**, then **Commit Changes & Deploy**
# Step 2: Create the LookML Project
1. Go to **Develop > Projects**
2. Click **New Model**
3. Choose a connection (doesn't matter which one) > **Create a new LookML Project with this exact name `jedify_extension`**
4. Select at least a single **Schema** (we don't really need. It's just mandatory when creating a new project)
5. Click **Next** until requested to enter model name and enter `jedify_extension`> **Complete and view model**
6. In the project file browser click the **+** > **Create project manifest**
#### `manifest.lkml`
```lkml theme={null}
project_name: "jedify_extension"
application: jedify_chat {
label: "Jedify Chat"
url: "https://jedify-looker-extension.s3.us-east-1.amazonaws.com/bundle.js"
mount_points: {
dashboard_tile: yes
standalone: yes
}
entitlements: {
core_api_methods: ["dashboard", "query","run_query", "me"]
local_storage: yes
new_window: yes
use_embeds: yes
external_api_urls: [
"https://be.jedify.com"
]
new_window_external_urls: [
"https://app.jedify.com/*"
]
}
```
8. Click **Save Changes**, then **Validate LookML**, then **Commit Changes & Deploy**
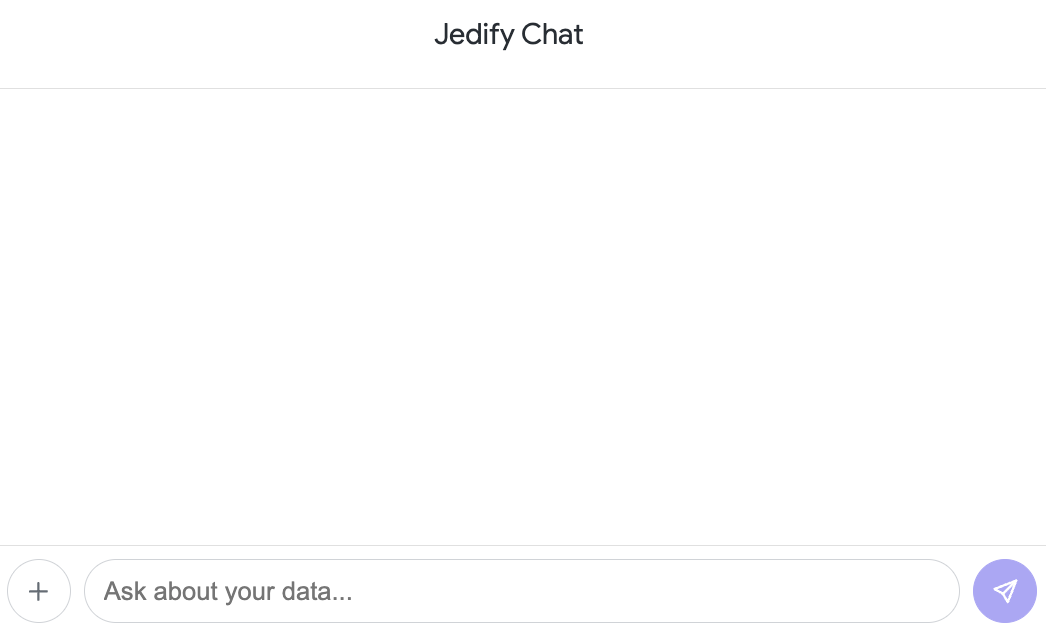
 # Step 3: Add Jedify to a Dashboard
1. Open any Looker dashboard and enter edit mode
2. Click **+ Add** > **Extension** > And add the Jedify extension tile from the right side panel.
3. Drag it onto the dashboard and resize as needed
4. Click **Save**
The chat tile is now live — users can start asking questions about the **current dashboard** immediately.
{/*
# Step 3: Add Jedify to a Dashboard
1. Open any Looker dashboard and enter edit mode
2. Click **+ Add** > **Extension** > And add the Jedify extension tile from the right side panel.
3. Drag it onto the dashboard and resize as needed
4. Click **Save**
The chat tile is now live — users can start asking questions about the **current dashboard** immediately.
{/*  */}
# Step 4: Access the Standalone App
After installation, Jedify also appears in the Looker navigation:
1. Click the **Applications** menu (or navigate via the hamburger menu)
2. Select **Jedify Chat**
This opens a full-page chat interface with more screen space.
*/}
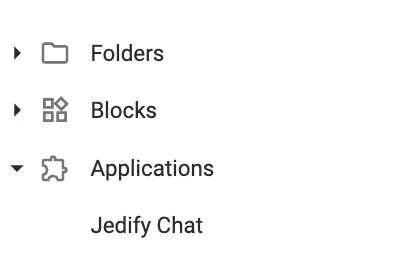
# Step 4: Access the Standalone App
After installation, Jedify also appears in the Looker navigation:
1. Click the **Applications** menu (or navigate via the hamburger menu)
2. Select **Jedify Chat**
This opens a full-page chat interface with more screen space.
 In the standalone mode Jedfiy will answer questions solely based on the Semantic Fusion™
# User Requirements
* **Jedify account required**: The API key must be bound to a Jedify user. All queries run under that user's permissions.
* **No individual login needed**: Users interact through the shared API key configured in the user attribute. They don't need individual Jedify accounts to ask questions from Looker.
In the standalone mode Jedfiy will answer questions solely based on the Semantic Fusion™
# User Requirements
* **Jedify account required**: The API key must be bound to a Jedify user. All queries run under that user's permissions.
* **No individual login needed**: Users interact through the shared API key configured in the user attribute. They don't need individual Jedify accounts to ask questions from Looker.